B9S aktualisieren
Für Support auf Englisch, bitte um Hilfe auf dem Nintendo Homebrew Discord.
Wenn du diese Anleitung wertschätzt, akzeptieren wir auch Spenden.
Lesen erforderlich
Diese Seite ist für Nutzer, die bereits boot9strap nutzen, jedoch ihre Installation auf die aktuellste Version aktualisieren wollen.
Was du brauchst
- Die neueste Version vom SafeB9SInstaller (Direkter Download)
- Die neueste Version von boot9strap (Direkter Download)
- Die neueste Version von Luma3DS (die Luma3DS
.zipDatei)
Anleitung
Abschnitt I - Vorbereitungen
Überschreibe für alle Schritte dieses Abschnitts bereits vorhandene Dateien auf der SD-Karte.
- Stecke deine SD-Karte in deinen Computer
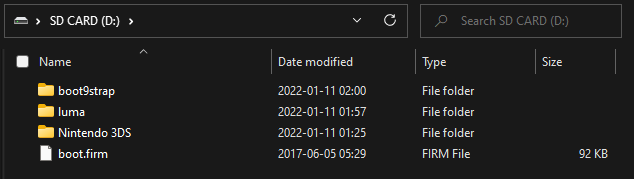
- Erstelle einen Ordner namens
boot9strapim Stammverzeichnis deiner SD-Karte - Kopiere
boot9strap.firmundboot9strap.firm.shaaus der boot9strap.zipin den/boot9strap/-Ordner auf deiner SD-Karte - Copy
SafeB9SInstaller.firmfrom the SafeB9SInstaller.zipto the root of your SD card and rename it toboot.firm -
Reinsert your SD card into your console
Schritt II - Installation von boot9strap
- Power on your console
- Dies sollte den SafeB9SInstaller automatisch starten
- Wenn du gebeten wirst, eine Tastenkombination einzugeben, gib die Tastenkombination auf dem oberen Bildschirm ein, um boot9strap zu installieren
- If a step on the lower screen has red-colored text, and you are not prompted to input a key combo, follow this troubleshooting guide
- Once it is completed, force your console to power off by holding down the power button
- Your console will only boot to the SafeB9SInstaller screen until the next section is completed
Schritt III - Luma3DS aktualisieren
- Stecke deine SD-Karte in deinen Computer
- Copy
boot.firmandboot.3dsxfrom the Luma3DS.zipto the root of your SD card, replacing the existing file - Reinsert your SD card into your console
- Power on your console
- If your console has booted into the Luma3DS configuration menu, press (Start) to save and reboot
- Das Luma3DS Konfigurations-Menü enthält Einstellungen für die Luma3DS Custom Firmware. Viele dieser Einstellungen sind nützlich für Personalisierung und Debugging
- For the purpose of this guide, these settings will be left on default settings